Monday, February 26, 2018

Celebrate Amazing You!

Today I wanted to share four cards with you, all different but sharing a similar technique.


On all of the cards I have used gesso on black card stock in different ways and then applied different coloured inks to each.


For all of my cards I have used the "Amazing You" stamp set and the "Celebrate You" Thinlits die set.
For this card the ink colours are Wisteria Wonder and Night of Navy.


I  applied the gesso through a mask and once dry I sponged on my inks. The gesso picks up the sponged inks readily. I also added some silver embossing powder. Some "bricks" were cut away to show case the die cut and stamped sentiment.


For this card I sponged on the gesso covering most of the card surface. Once dry I sponged on and blended my inks: Berry Burst and Tangerine Tango. Then I lightly screwed up the card to create wrinkles. I swiped Basic Black Archival ink over the wrinkles to accentuate. I stamped some black dots in the background. The sentiment is die cut and stamped and embossed. I wrapped some gold thread around the card background before adhering to the card base.


I used the sentiment from the front die cut to decorate the inside of the card.


For this card I began by applying the gesso lightly with a brush in a cross hatching fashion. I added some heavier gesso lines with an old credit card. Once dry I sponged on and blended the inks: Rich Razzleberry and Crushed Curry. I grabbed my credit card again added some Rich Razzleberry lines. Using my credit card again I added some Versa Mark lines and embossed them with gold embossing powder. 


I die cut the word "amazing" twice in black card stock and gold embossed one of them. I offset the gold over the black. I finished off by adding some gold thread to the "o" and "u".


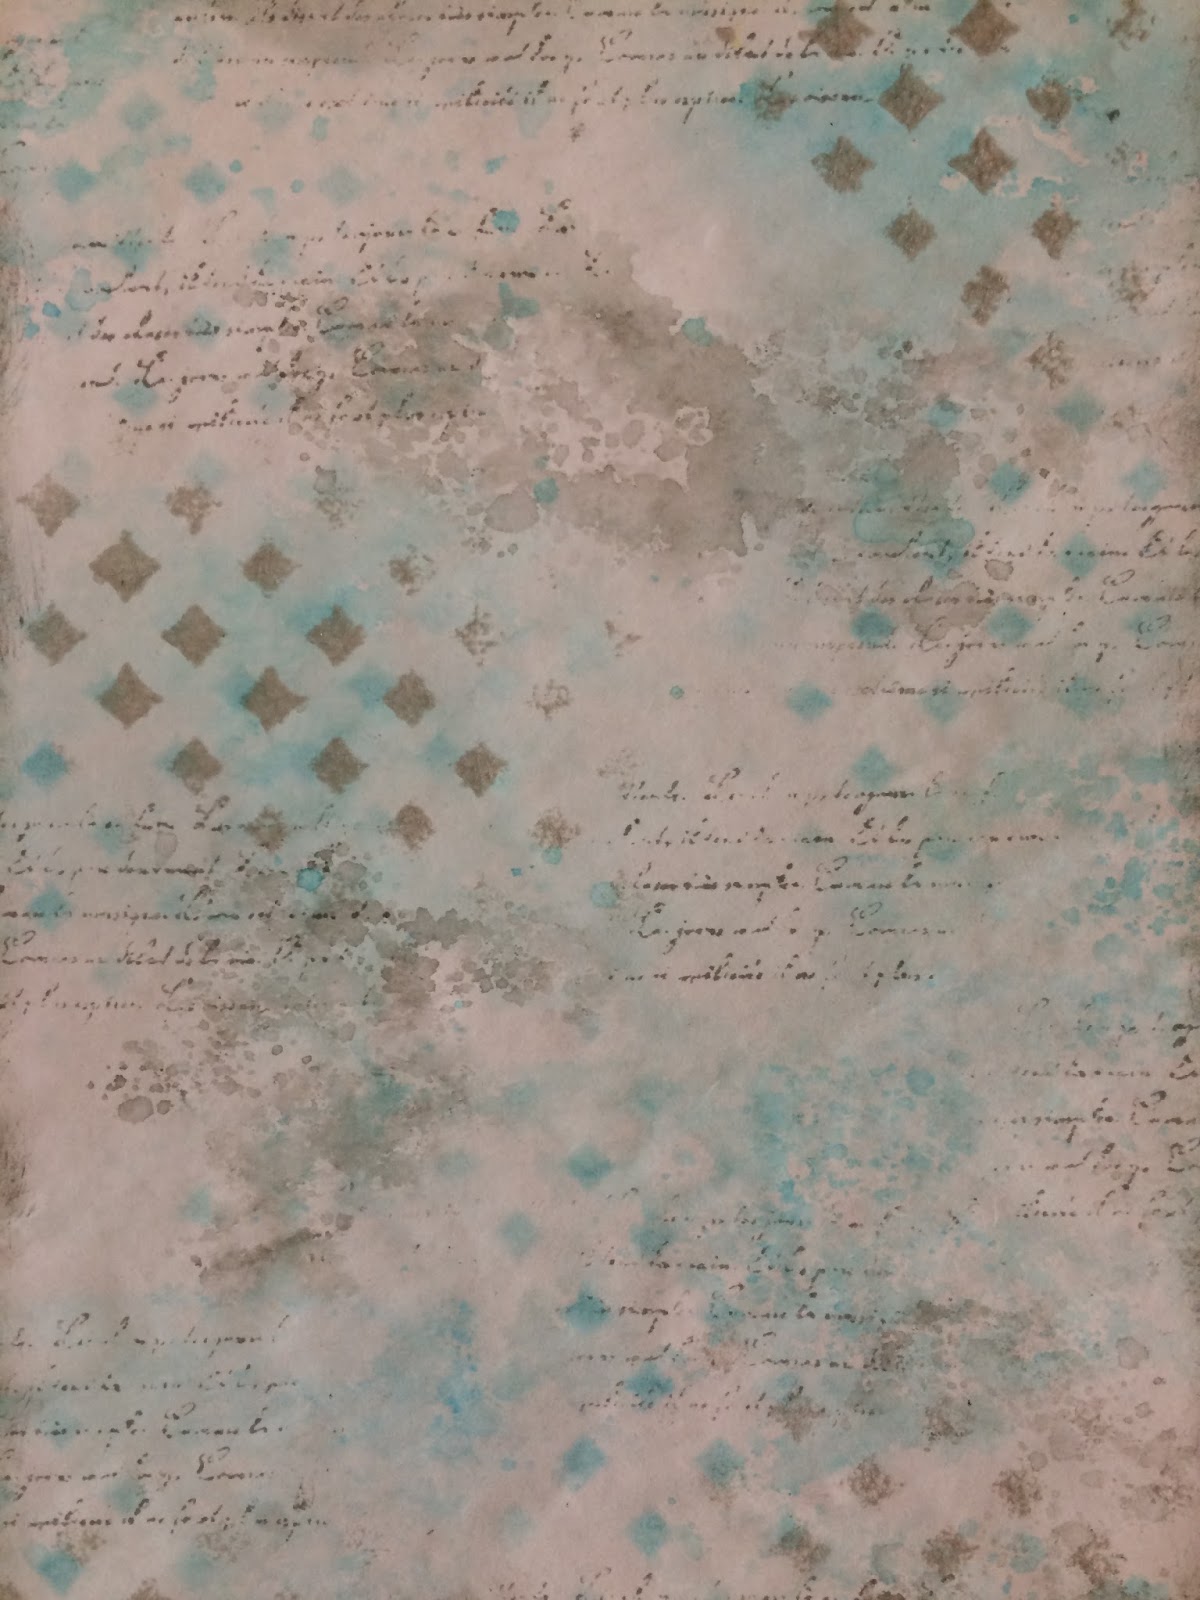
To achieve the effect on this card I lightly sponged on the gesso so there was some of the black card showing through. Once dry I blended my ink colours: Pacific Point, Mariner Mist and Tempting Turquoise. I sprinkled on some silver embossing powder and finished off with some gesso splatters. I really love this effect, it reminds me of a galaxy.


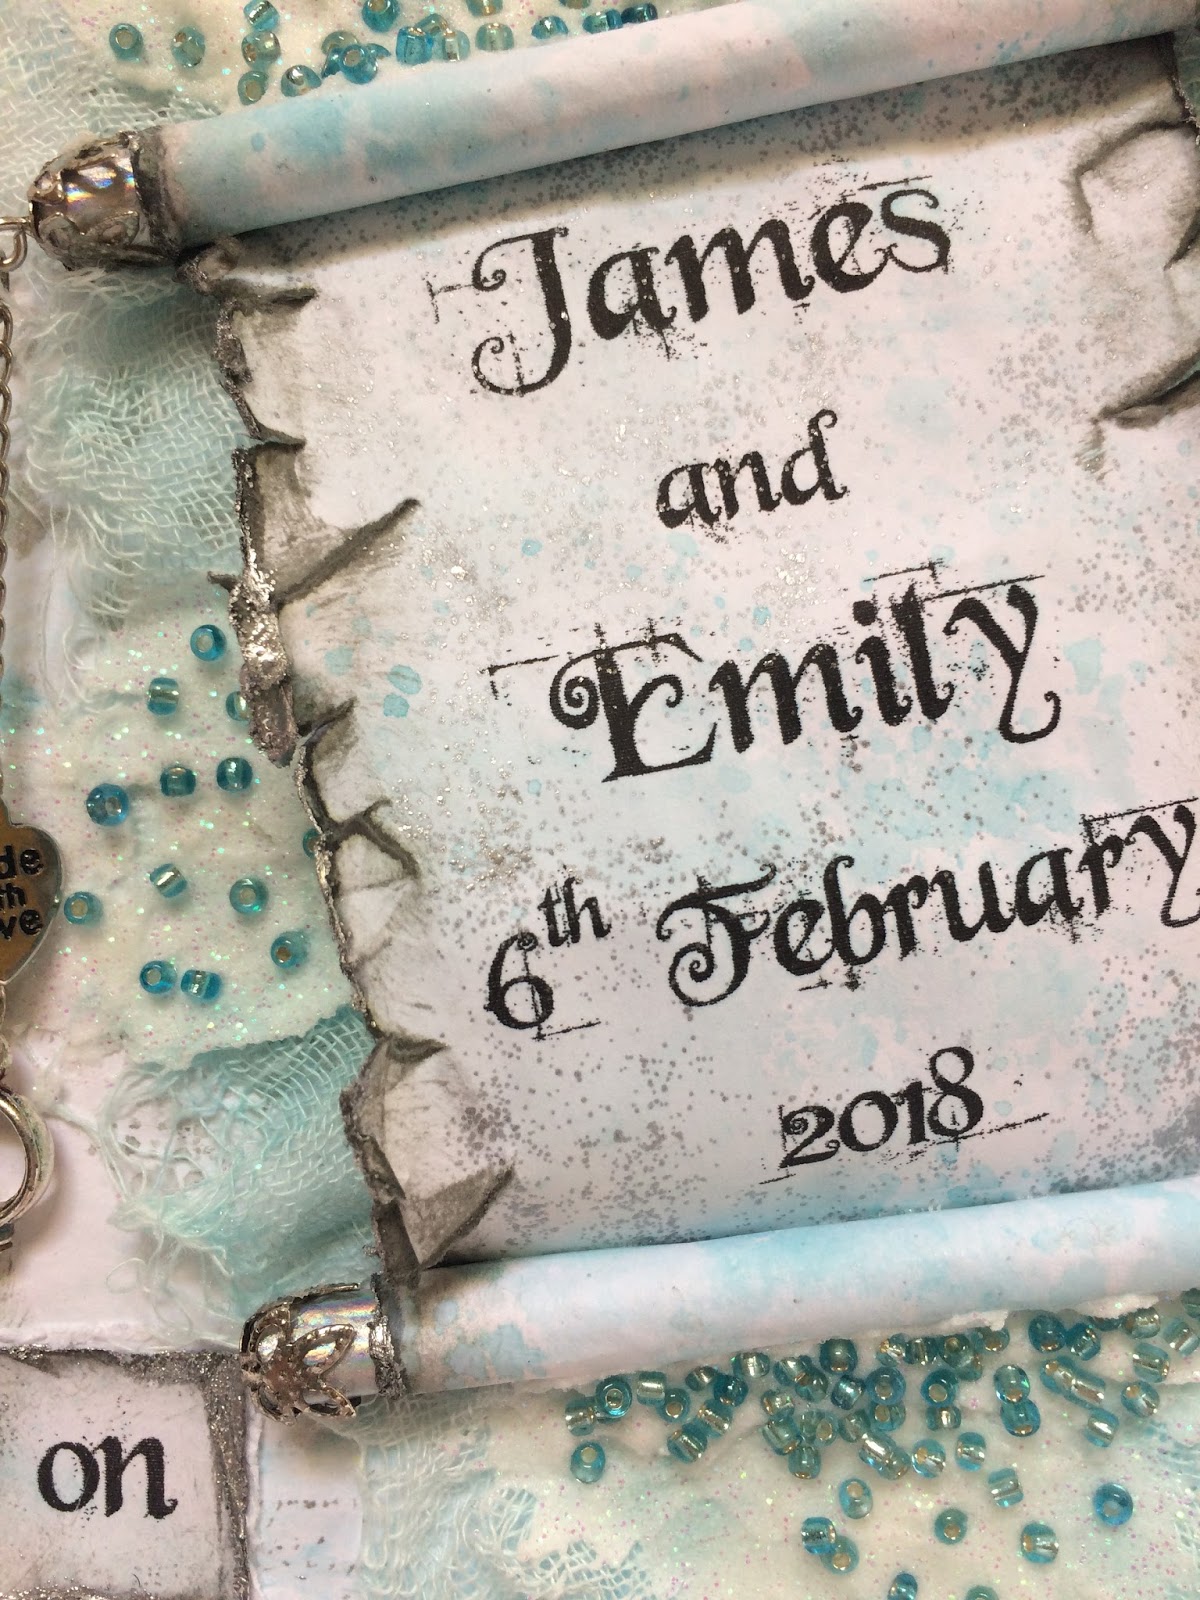
The sentiment was die cut and silver embossed. I threaded some seed and bugle beads onto silver thread and wrapped it behind the "you".


I decorated the inside of the card with the die cut.


Gesso really is a great companion to your inks. It is so versatile and creates so many possibilities.

Friday, February 23, 2018

The Healing Love of God Journal - "Why are you cast down. O my soul?"

I have never been a fan of negative emotion. Being a generally positive person I tend to push down negative feelings or ignore them perceiving them as a bad thing. However lately I have been learning about the importance and validity of negative emotion and seeing it as a friend. Now I'm not talking about being a bit miffed because someone took my favourite parking spot . In that case I just need to let it go. Rather I'm talking about strong emotions such as depression, anxiety and fear that are hard to fight.
David acknowledged his pain.
"Why are you cast down, O my soul?"
Psalm 43:5a
By asking the question "why", he didn't focus on his pain but on the reason for it. There is always a root cause to our emotion and as the emotion rises so does the root. The cure always works best on the cause rather than the symptom.
David was not ruled by his emotion but rather he allowed his emotion to serve him.
By acknowledging my emotion I too have identified the root cause of it. Like David
"I shall yet praise Him, the help (cure) of my countenance and my God."
Psalm 43:5b


I was led to create this art to acknowledge and give expression to my feelings.
My ink colour palette was Elegant Eggplant and Rich Razzleberry. I also used Powder Pink and Blushing Bride for the skintone.
The background stamps were from the "Background Bits" and "Beautiful Peacock" stamp sets.


I printed the Scripture verse from my computer.
I have also used colour pencils for some definition.


I used gold foil flakes on the heart.
I applied Glossy Accents to the tears to create dimension and shine.


I have added some embossing paste to the background.


Completed journal page.

The journey continues as I seek God on how to practically apply His love to my wound.

Monday, February 19, 2018

The Healing Love of God Journal - He loved me FIRST.

I have been struggling with some crazy emotions. At times I have intense feelings of sadness for no apparent reason, sometimes I am angry and at other times I feel anxious. I was just brushing them off as part of Peri-Menopause and simply endured them, waiting for them to pass. Of course there are physical symptoms also but once again I put it down to this strange time of life and just accepted it.
Recently during a bout of extreme sadness, the Spirit led me to stop, be still and listen. The Spirit began to challenge the way I was thinking. What if these negative feelings are actually your friends and are serving you by trying to communicate a problem that lies within? The problem being wounds of pain from the past ignored and left to grow and become toxic. What if my feelings were alerting me and bringing that pain forward to be healed instead of being ignored? What is the cure? The only cure for a broken heart is God's perfect love.
I decided they were all really good questions that needed exploring. So I decided to create a journal to seek God in a creative way. Healing flows from focussed creativity.
I wanted to share a sample of one of the pages with you today. This isn't the first page it is simply what the Spirit wanted to teach me today.


The ink colours I have used are Wisteria Wonder and So Saffron. I used a script stamp from the "Background Bits" stamp set.
The sketch is my own.


The flowers were first painted with gesso and once dry I applied ink with a brush.


I printed the sentiment from my computer.
I used a colour pencil to add some shading.


I began with the art work. In the process the Spirit gave me the title which became the subject of my learning today.
I then sat at my computer and journaled what I had learned as I was led by the Spirit.
I inked the page with So Saffron before adhering my art work on the opposite side of the journaling.

I am so excited and expectant about this journey of healing I am embarking on. I will be sharing more pages with you as I progress. I hope you will join me.

Saturday, February 17, 2018

Our Daughter is Engaged!

We are so happy and excited to announce the engagement of our eldest daughter to the love of her life. So of course I had to create a card. As we wanted to give them a monetary gift I decided to create a card that had a pocket to hold it.


The ink colours I used were Tempting Turquoise and Smoky Slate.
I printed the sentiment from my computer.
I used a script stamp in the background from the "Background Bits" stamp set.


I created my patterned paper first. Here I have added some Silver embossing paste through a mask.


I dyed some gauze in Tempting Turquoise for the background.
I also used the Shimmery White embossing paste to hold some seed beads in place.


I used silver embossing powder to edge my paper.
I also created a charm using glass pearls and crystals.
The card has a silver ribbon closure.


On the inside of the card I have created a side pocket to hold some money.


The Bible verse and sentiment were printed from my computer before adding background colour.


The art work is a hand drawn image.
I have coloured it using inks as watercolour and colour pencils for shading.

I am pleased to say our daughter and future son in law loved the card as much as I did in creating it.


Tuesday, February 13, 2018

No Greater Love

Happy Valentines Day.

What a great day to celebrate love and most especially God's love for us.

The creation of this card was truly led by the Spirit. I had an idea of where I was going but it changed and evolved into a true demonstration of God's love.
He allowed His very heart to be nailed to the cross that we might live.


The ink colours I used are Always Artichoke and Cherry Cobbler. 


The cross has been die cut from the "Cross of Hope" Framelits Die Set. I embossed it using gold embossing powder.


The quote was printed from my computer.

I want to recreate this card into a larger canvas that I can see all the time to remind me of how dearly loved I am.

Tuesday, February 6, 2018

Beautiful Mistakes

Mistakes! Ugh!! As a creative person I'm really not a fan. Don't get me wrong, there are times I love mistakes, when they become creative opportunities.  Or when they work perseverance in me. But there are times no matter how long I persevere I always seem to end up with a mistake in my work I just can't do anything with. There is no covering it up. It is just there in all its glory.
The other day was just one of those days where nothing seemed to go right. I must have attempted this card at least four times but alas, just I had almost completed it, a nasty stray ink mark from my stamp block invaded my sentiment. So I ended up throwing it in my box to try again another day, putting it down to a lesson in perseverance.
However today I felt compelled to pull it out and actually mount it onto a card, not to give to someone but to give to me. It is to remind me that I am not infallible, to accept my mistakes, get over myself and to learn humility.
Mistakes not only build perseverance in us but also the beauty of humility.


I have used Elegant Eggplant and Soft Sky Stampin'Up! inks. The stamp sets are "Beautiful Peacock" and "Lovely Wishes".


I have used masking techniques throughout playing around with ink intensity.


There is that mistake! Some parts of the peacock didn't stamp solidly so I touched up those areas with the basic black Stampin' Write marker.

I really do want to try this design again perhaps in a different colour way, and, minus the mistakes!

Sunday, February 4, 2018

Let Your Light Shine - Tag Card

I wanted to experiment with Mat Gel Medium and my inks, so I decided to add texture with some tissue paper.


I have used Crushed Curry and Marina Mist inks and the "Beautiful Peacock" stamp set.


I have typed the sentiment on my computer.
After inking the background I applied wrinkled tissue paper over the top using Mat Gel Medium. I added more ink over the top of the Medium.


I used gold embossing powder on the background and along the edges.


The tag is removable.


I used silk ribbon and gold thread to embellish the tail of the peacock.


The Bible verse was printed from my computer.

I love the texture the Mat Gel Medium allowed me to achieve on this card.


Art Impressions - As the Deer

 I am still learning how to paint water and still have a long way to go. I really need to work on shadows and reflections! The stamp sets ar...